
Low Voltage Rough-In: A Practical Guide for 2026
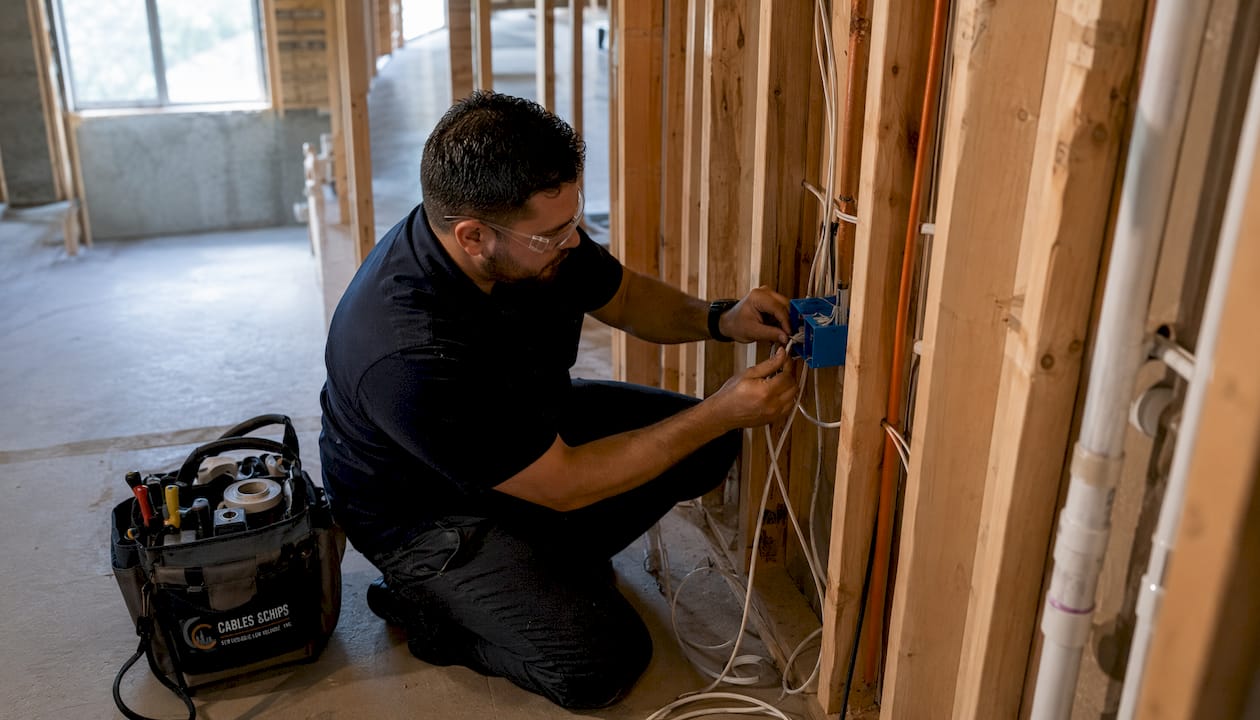
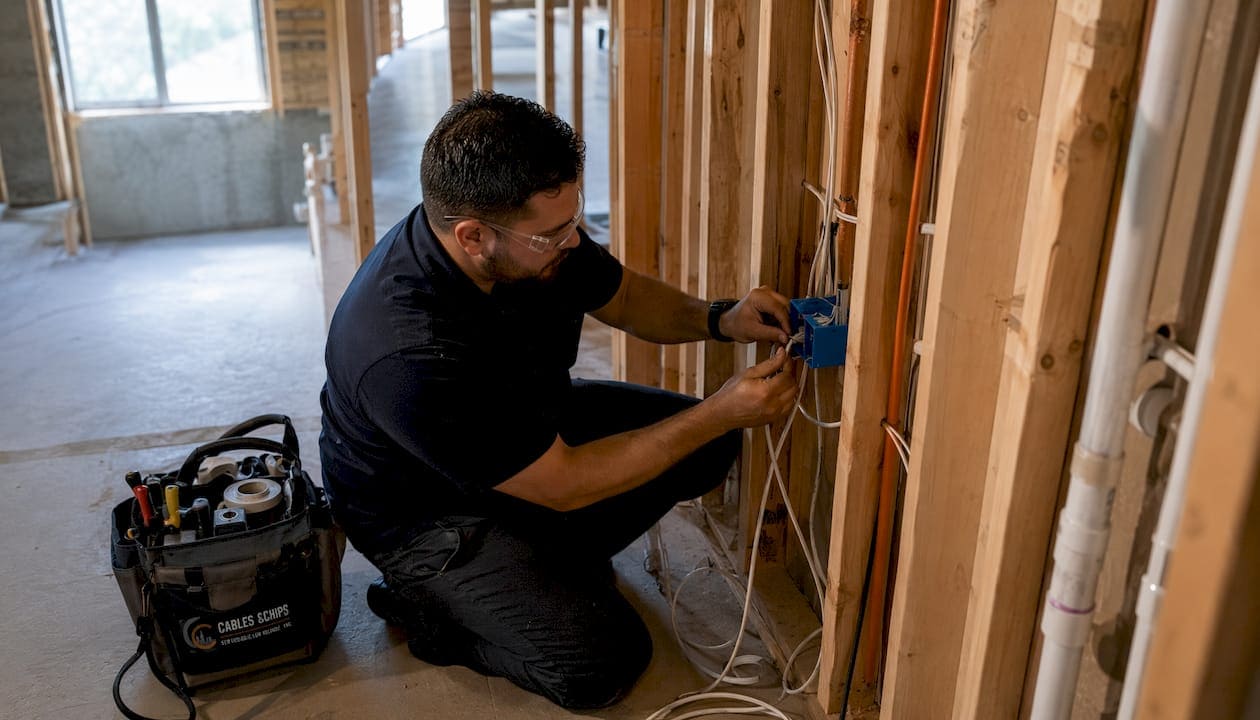
Low voltage rough-in is the pre-insulation installation phase where conduit, cables, and device boxes for low voltage systems are placed inside wall cavities after framing is complete but before drywall closes everything up. In U.S. construction, low voltage covers any system operating at 50 volts or less, including data networks, security cameras, thermostats, and doorbells. Getting this phase right determines whether your finish-stage connections are clean and code-compliant, or a costly rework.
Here is what low voltage rough-in covers at a glance:
- Conduit and cable pathways routed through studs and joists
- Device boxes mounted at code-specified heights and depths
- Cable pulls for data, security, A/V, and control systems
- Wire slack left in each box for later terminations
- Nail plates protecting cables near stud edges
- Separation from high-voltage power runs per NEC requirements
What is low voltage rough-in, and which systems does it cover?
Low voltage rough-in establishes the physical infrastructure for every system in a building that runs below 50 volts. These systems follow different code standards than standard branch circuits, governed primarily by NEC Article 725 for Class 2 and Class 3 circuits. Most residential Class 2 circuits are limited to 100 VA at voltages up to 30V, which is why their installation rules are more flexible than line-voltage wiring.
Common systems roughed in during this phase include:
- Structured data cabling (CAT6, CAT6A) for wired networks and Wi-Fi access points
- Security cameras and access control wiring
- Fire alarm circuits (NEC Article 760, which requires permits and inspection in most states)
- Thermostats and HVAC controls
- Doorbells and intercom systems
- Audio/video distribution cabling
- Telephone and coaxial cable runs
Fire alarm circuits are the notable exception to relaxed rules. Even though they operate at low voltage, they require strict permits and inspections regardless of jurisdiction.
When and how low voltage rough-in is performed
Timing is fixed by the construction sequence. Low voltage rough-in happens after framing is complete and before insulation or drywall goes up. On most projects, it follows the electrical branch circuit rough-in and runs roughly parallel with HVAC and plumbing wrap-up.
The installation sequence follows these steps:
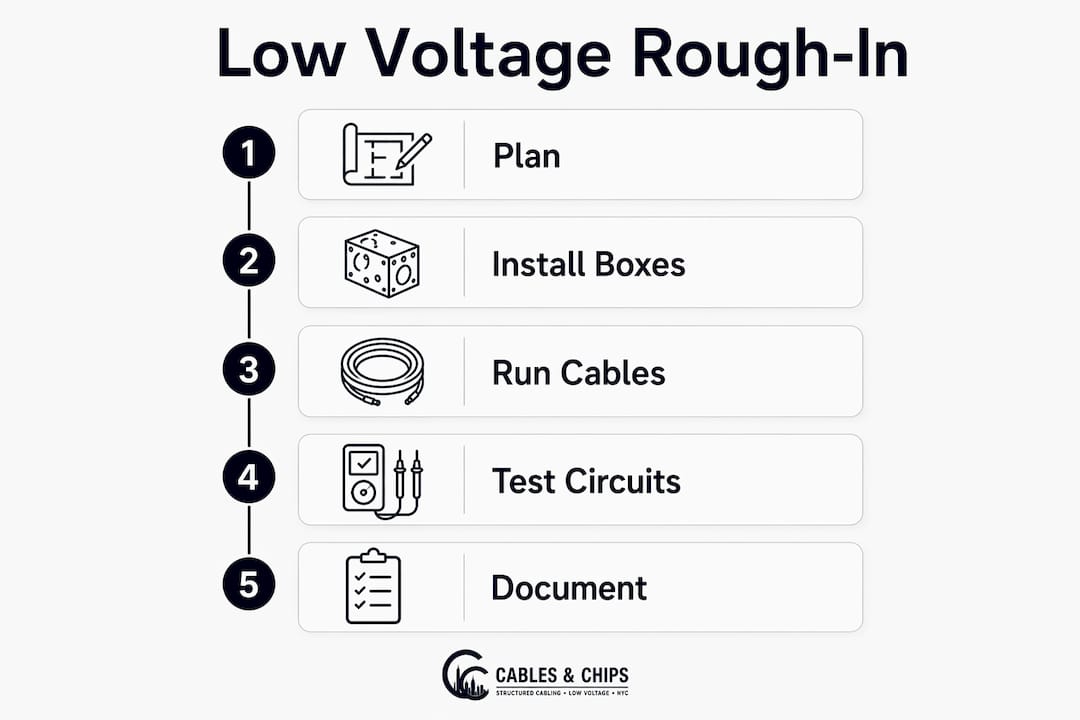
- Walk the space with plans, marking device locations on walls and floors.
- Snap chalk lines or shoot laser lines to establish consistent box elevations.
- Mount device boxes to studs and ceiling joists at marked positions.
- Drill holes through studs and plates for cable runs.
- Pull cable through holes and into each box, leaving adequate slack.
- Secure cables with staples or cable straps at code-required intervals.
- Install nail plates wherever cables pass through stud edges within 1¼ inches of the surface.
- Bundle and label cable groups at each box for the finish stage.
- Schedule rough-in inspection before insulation is installed.
Safety applies even at low voltage. Always de-energize any existing circuits in the work area and use a non-contact voltage tester before touching cables. Keep power tools away from live circuits in adjacent walls.
Pro Tip: Complete all boxes in a room before pulling any cable. Switching between tasks constantly slows you down and increases the chance of a missed box. Batch each task, finish it across the whole floor, then move to the next.
Inspection requirements and common pitfalls
Inspectors review low voltage rough-in before walls close. Passing on the first visit saves days of schedule delay. The most common causes of failure are not poor workmanship in the visible sense; they are overlooked NEC details.
What inspectors check:
- Cable support: staples or straps spaced per NEC, not overtightened
- Nail plates: steel stud guards required wherever cables pass within 1¼ inches of a stud face
- Box fill: correct number of cables per box size
- Wire slack: adequate wire slack left in each box for safe terminations
- Grounding: ground conductors spliced and secured in metal boxes
- Separation: low voltage cables not bundled with or run through the same holes as power wiring
Common pitfalls that cause failures:
- Stapling cables too tightly, which crushes insulation
- Missing nail plates on stud edges near cable runs
- Insufficient wire slack, leaving too little for a clean termination
- Incomplete or missing ground splices in metal boxes
- Low voltage cables sharing holes with 120V or 240V branch circuits
Professional best practices from experienced contractors
Experienced low voltage contractors treat the rough-in phase as the moment where long-term performance is either built in or compromised. Box alignment is one detail that separates professional work from amateur installs. Using a laser level or chalk line to set consistent box elevations prevents misaligned cover plates and devices at the finish stage, a problem that is far harder to fix after drywall is up.

Wire slack is another area where NEC compliance and practical serviceability overlap. NEC standards require leaving 6 to 8 inches of wire slack in each box for safe, clean terminations without splicing.
Plan cable routing before drilling. Identify where HVAC ducts, plumbing, and structural blocking will run, and route low voltage cables to avoid conflicts. Crossing a duct chase after drywall is up costs far more than planning around it during rough-in.
Pro Tip: Photograph every cable run and box location before insulation goes in. Those photos become your as-built record and save hours of guesswork during future renovations or troubleshooting.
How much does low voltage rough-in cost?
Cost varies by project size, system complexity, and local labor rates. Data and network cabling rough-in tends to be the least expensive per drop because CAT6 and CAT6A cable is relatively inexpensive and the installation method is straightforward. Security camera and access control rough-in adds cost when conduit is required or when cable runs are long. Fire alarm rough-in carries additional cost because of mandatory permitting and inspection fees.
For residential projects, the rough-in labor cost is typically lower than the finish-stage termination and testing work, since rough-in does not require the same precision as device installation. Budget separately for materials (cable, boxes, nail plates, staples) and labor. On commercial projects, low voltage systems are generally less expensive to install than line-voltage branch circuits, partly because conduit is not required for most Class 2 circuits.
Get itemized quotes that separate rough-in from finish work. A contractor who bundles both into one number makes it harder to compare bids or identify where cost overruns occur.
How low voltage rough-in differs from high voltage rough-in
The core difference is voltage level and the code pathway that follows from it. High-voltage rough-in covers branch circuits at 120V and 240V, governed by NEC Article 300 and requiring conduit or specific cable types like NM-B (Romex) in residential applications. Low voltage rough-in covers systems at 50V or less, governed by NEC Articles 725, 760, and 800 depending on the system type.
Practically, low voltage rough-in is faster and less expensive because most Class 2 circuits do not require conduit. Cables can be stapled directly to framing. The separation requirement is the critical overlap point: low voltage cables must not share conduit, raceways, or framing holes with power wiring. Using 120V-rated wire for low voltage applications is not code-compliant; proper low voltage cables must be used for communication and control circuits.
Licensing requirements also differ. In many states, low voltage work requires a separate low voltage contractor license rather than a full electrical license, though this varies by jurisdiction and system type.
How to coordinate low voltage rough-in with other trades
Low voltage rough-in shares wall and ceiling cavities with plumbing, HVAC, and electrical. Conflicts between trades are the most common source of schedule delays and rework during rough-in. The general sequencing on most projects puts plumbing first, then HVAC ductwork, then electrical branch circuits, and finally low voltage.
Coordinate cable routing paths with the electrician before either trade starts drilling. Low voltage cables must maintain separation from power wiring, so agreeing on which stud bays each trade will use prevents conflicts before they happen. In home offices and media rooms, where data performance depends on clean cable runs, this coordination is especially worth the time.
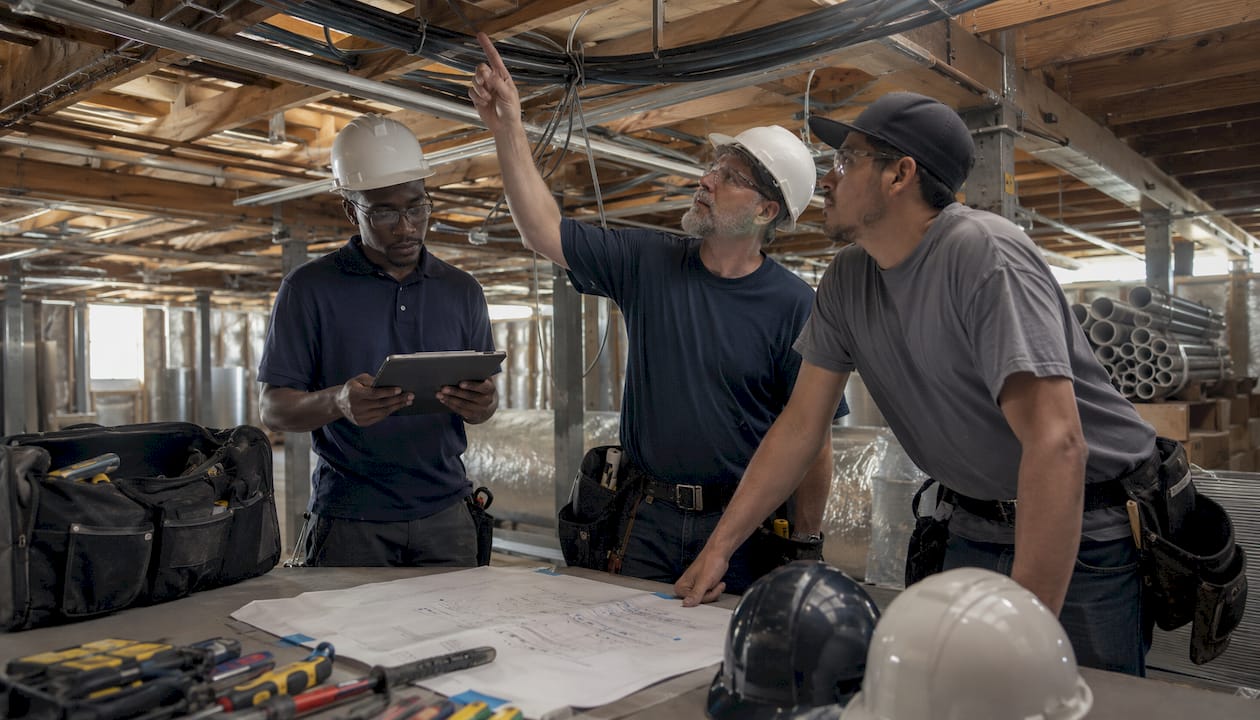
If a separate low voltage subcontractor is handling data and security while the general electrician handles power, make sure both have reviewed the same set of plans. Mismatched routing assumptions are the most common cause of low voltage cables ending up bundled against power runs. Using construction management software to track rough-in task sequencing across trades reduces these conflicts on larger projects.
Tools and materials needed for low voltage rough-in
Having the right tools on site before starting saves multiple trips and keeps the work moving.
Tools:
- Drill with long spade or auger bits for framing penetrations
- Laser level or chalk line for consistent box elevations
- Fish tape or cable-pulling fish sticks
- Non-contact voltage tester
- Cable staple gun and appropriate staples
- Utility knife and wire strippers
- Label maker or cable markers
Materials:
- CAT6 or CAT6A cable for data runs
- Coaxial cable (RG6) for video distribution
- Low voltage device boxes (old-work or new-work depending on application)
- Steel nail plates (stud guards) for cable protection
- Cable staples or straps rated for the cable type
- Pull string for conduit runs
- Low voltage brackets for open-wall mounting
Cables and Chips recommends specifying CAT6A over CAT6 for any new construction data rough-in. The performance headroom at 10-gigabit speeds is worth the modest cost difference, and retrofitting cable after drywall is far more expensive than upgrading during rough-in.
Work with Cables and Chips on your next low voltage project

Cables and Chips has delivered structured cabling installations across commercial offices, secure facilities, and enterprise environments throughout New York City for more than 40 years. From CAT6A data rough-in to CCTV and access control cabling, every project is documented, tested, and built to pass inspection. If you are planning a new construction or renovation project, contact Cables and Chips to discuss your low voltage scope before framing closes.
Key Takeaways
Low voltage rough-in is the pre-drywall installation phase for systems operating at 50 volts or less, and getting it right requires correct cable types, NEC-compliant box fill and slack, and proper separation from power wiring.
| Point | Details |
|---|---|
| Voltage threshold | Low voltage covers systems at 50 volts or less, including data, security, and HVAC controls. |
| Timing in construction | Rough-in happens after framing and before insulation or drywall. |
| Wire slack requirement | Leave 6 to 8 inches of wire slack in each box to meet NEC standards for safe terminations. |
| Top inspection failure causes | Missing nail plates, improper stapling, insufficient slack, and incomplete grounds cause most failures. |
| Cable separation | Low voltage cables must not share holes or raceways with 120V or 240V power wiring. |
FAQ
What is considered low voltage in construction?
Any electrical system operating at 50 volts or less is classified as low voltage in U.S. construction, including thermostats, doorbells, data networks, and security cameras. These systems follow NEC Articles 725, 760, and 800 rather than the branch circuit rules that govern standard outlets and lighting.
What counts as rough-in for electrical work?
Rough-in is the construction phase where conduit, cables, and device boxes are installed after framing and before insulation or drywall. No devices or fixtures are connected at this stage; the goal is to establish all pathways and anchor points for the finish-stage installation.
Can you use 120V wire for low voltage applications?
No. Using 120V-rated wire for low voltage communication or control circuits is generally not code-compliant. Proper low voltage cables, such as CAT6 for data or rated thermostat wire for HVAC controls, must be used for their respective applications.
Why do electricians keep one hand in their pocket when working near live circuits?
Keeping one hand away from conductive surfaces prevents a hand-to-hand current path through the chest and heart if accidental contact with a live conductor occurs. This practice applies to high-voltage work; low voltage systems carry far less shock risk, but the habit reflects sound electrical safety discipline overall.