
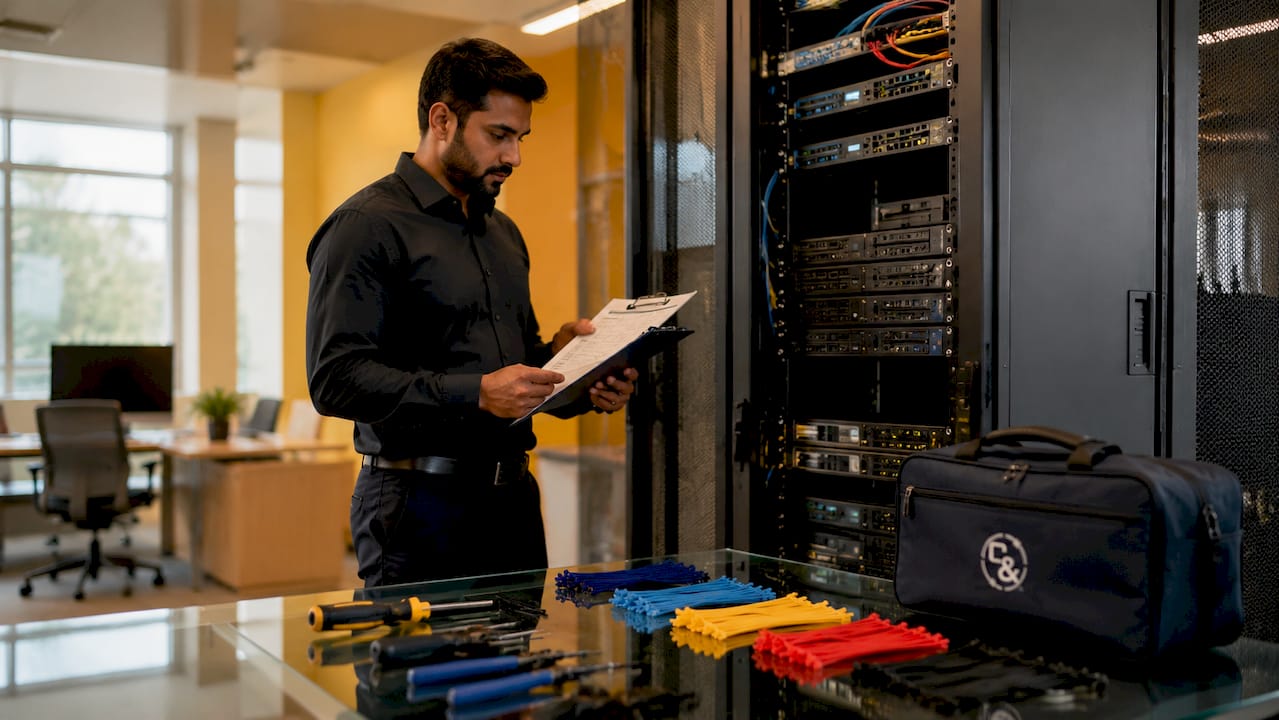
A server rack setup checklist is a structured, phase-by-phase tool that governs every step of rack installation, from pre-deployment planning through final commissioning. Without it, even experienced IT teams make costly mistakes: wrong cable lengths, poor weight distribution, inadequate grounding, and cooling failures that only surface under load. This checklist covers the full scope of a server rack installation guide, including physical mounting, cabling, airflow, grounding, and integrated systems verification. Standards like ANSI/TIA-942 and Cisco UCS installation guidelines define the benchmarks. This article follows them.
1. What to verify before installation begins
Pre-installation planning is the phase most teams rush, and it is where most installation failures originate. A solid data center equipment checklist starts here, before a single piece of hardware is touched.
Begin by taking a complete equipment inventory. For every device, record rack unit (U) height, physical depth, weight, and airflow direction (front-to-back or side-exhaust). This data drives every downstream decision, from rack position to power circuit assignment. Skipping this step means discovering mid-installation that a 2U server requires 28 inches of depth in a 24-inch cabinet.

Next, assess the physical environment. Verify floor load capacity against the total populated rack weight. Check wall and floor structural readiness if you are anchoring to either. Map every available power circuit and network port to specific rack positions before deployment day. The device placement mapping you do now prevents rework later.
Also confirm room conditions: ambient temperature should stay between 64.4°F and 80.6°F (18°C to 27°C) per ASHRAE guidelines, with relative humidity between 40% and 60%. Verify that ventilation is adequate and that access paths are clear for equipment delivery and ongoing serviceability.
- Inventory all devices by U-height, depth, weight, and airflow direction
- Confirm floor load capacity for fully populated rack weight
- Map power circuits and network ports to rack positions
- Reserve 20% to 30% of rack U-space for future expansion
- Verify room temperature, humidity, and ventilation meet ASHRAE standards
- Plan cable lengths based on actual rack-to-rack and rack-to-patch-panel distances
Pro Tip: Plan cable lengths before ordering. Optical cables support runs up to 100 meters, while copper cables are limited to 5 meters for adjacent racks. Ordering wrong lengths after installation begins is one of the most common and avoidable delays on rack deployment projects.
2. How to mount and install equipment correctly
Physical mounting done wrong creates problems that compound over time: unstable racks, inaccessible devices, and weight distributions that stress both the rack frame and the floor beneath it. The best practices for rack installation from Veritas and Cisco UCS are specific and worth following exactly.
- Level the rack first. Use a bubble level on both axes before anchoring. An unlevel rack causes doors to bind, rails to misalign, and devices to slide under vibration.
- Anchor the rack to the floor or wall. Anti-tip anchoring is not optional in seismic zones or any environment with foot traffic near the rack.
- Install heavier devices low. Storage shelves, UPS units, and dense servers belong in the bottom third of the rack. This lowers the center of gravity and reduces tip risk.
- Install one rail set with the device, not all rails first. Installing rails incrementally prevents spatial conflicts with power strips and cabling that are already in place.
- Use at least two to three people for heavy servers. Lifting heavy servers without adequate personnel is the leading cause of dropped equipment and technician injury during rack deployments.
- Verify rail and device envelope compatibility. Confirm that the rail kit matches the rack post spacing (typically 19-inch EIA-310) and that the device depth does not conflict with rear cable managers or PDUs.
- Torque cage nuts and rail screws to specification. Hand-tight is not enough. Under-torqued hardware vibrates loose over time.
Pro Tip: Work from the bottom of the rack upward. Mounting top-heavy devices first makes lower installations physically awkward and increases the risk of the rack tipping during the build.
3. Cabling and airflow management best practices
Cabling organization and airflow management are inseparable in a well-built rack. Poor cable routing blocks airflow. Blocked airflow causes thermal throttling and hardware failure. The two disciplines must be planned together.
Separate power cables from data cables at all times. Maintain at least 2 inches of physical separation to minimize electromagnetic interference (EMI). Run power cables along one side of the rack and data cables along the other, using dedicated vertical cable managers for each. For organized cable routing, Velcro straps are the correct fastener. Zip ties cinch cables too tightly, restrict future moves, and can damage jacket insulation over time.
Label both ends of every cable using a consistent format. A standard like “RACK-A1-PORT-03 to PATCH-PANEL-B-PORT-12” takes seconds to apply and saves hours during troubleshooting. Color-coding by function (blue for data, black for power, yellow for management) adds a second layer of identification.
| Practice | Standard | Impact |
|---|---|---|
| Blanking panels in unused U-spaces | Required per ANSI/TIA-942 | Reduces cooling loss by 15 to 25% |
| Velcro straps for cable bundling | Industry best practice | Allows moves without cutting ties |
| 2-inch separation: power vs. data | EMI mitigation standard | Reduces signal interference |
| Inlet temperature uniformity | Within 2 to 3°C variation | Confirms effective containment |
Missing blanking panels in unused rack U-spaces can reduce effective cooling capacity by 15 to 25% due to hot-air recirculation. That is not a minor inefficiency. In a densely populated rack, it can push inlet temperatures above safe thresholds within minutes of peak load. Order blanking panels before installation day and treat every empty U-space as a gap to be filled.
4. How to properly ground a server rack
Grounding is the step most often skipped on server rack deployment checklists, and it is the one most likely to damage hardware or injure personnel when done wrong. ANSI/TIA-942 requires proper bonding of all rack frames to a common facility ground.
- Locate the dedicated rack grounding point. This is typically a grounding lug or busbar on the rack frame.
- Remove paint or coating at the contact point. Bare metal contact is required for a reliable electrical bond. Paint acts as an insulator.
- Use AWG #6 or AWG #8 copper wire. Connect via grounding lugs to the facility ground busbar. Undersized wire increases resistance and reduces protection.
- Test grounding resistance with a multimeter. Bonding impedance must be less than 0.1 ohms. A reading above 5 ohms indicates a connection problem that must be corrected before powering up equipment.
- Use star topology, not daisy-chain. Daisy-chaining racks creates ground loops in large installations. Each rack bonds independently to the single facility ground point.
- Ground moving parts separately. Rack doors and side panels require flexible bonding straps to maintain ground continuity through repeated opening and closing.
Pro Tip: Photograph every grounding connection before closing up the rack. A dated photo record proves compliance during audits and gives your team a reference point if resistance readings change during future maintenance checks.
5. Final verification and commissioning checklist
Passing individual device power-on tests is not proof that the rack environment will perform reliably under real load. Integrated systems testing under actual operating conditions is the only valid commissioning standard.
Work through this verification sequence before signing off on any rack deployment:
- Confirm physical leveling and secure anchoring at all four feet or floor brackets
- Verify all cage nuts and rail screws are torqued to specification
- Check device order against the original layout plan, confirming weight distribution
- Power on all devices and confirm no circuit breakers trip under combined load
- Verify cooling systems maintain inlet temperatures within the 2 to 3°C uniformity target
- Inspect all cabling for strain relief, correct routing, and zero airflow obstruction
- Confirm all blanking panels are installed in unpopulated U-spaces
- Test grounding resistance on every rack frame and document the readings
- Label the emergency power shutoff (EPO) clearly and verify it is accessible
- Complete a written sign-off document with technician names, test results, and date
The commissioning sign-off document is not administrative overhead. It is the baseline record against which every future maintenance check and incident investigation is measured. Teams that skip it spend more time diagnosing problems they cannot trace to a root cause.
Key takeaways
A server rack setup checklist works because it enforces a disciplined sequence across planning, mounting, cabling, grounding, and commissioning, preventing the compounding errors that arise when any phase is skipped.
| Point | Details |
|---|---|
| Pre-installation planning | Inventory all devices by U-height, weight, depth, and airflow before ordering or deploying anything. |
| Weight distribution in mounting | Install heavier devices at the bottom and use star-topology grounding to prevent tip risk and ground loops. |
| Blanking panels and airflow | Fill every unused U-space with blanking panels to prevent 15 to 25% cooling capacity loss. |
| Grounding verification | Test bonding impedance with a multimeter; readings must be below 0.1 ohms before powering up equipment. |
| Commissioning under load | Run integrated systems tests under real operating conditions, not just individual device power-on checks. |
What I’ve learned from 40 years of rack installations
The single most expensive mistake I see on rack projects is treating the checklist as optional documentation rather than a live working tool. Teams that skip pre-installation planning consistently end up remounting devices, reordering cables, and rescheduling downtime windows. The cost of that rework is always higher than the time the planning would have taken.
On the physical side, I cannot overstate the importance of team communication during equipment mounting. Heavy servers shift unexpectedly. One person calling out movements while two others lift prevents dropped equipment and prevents injuries. I have seen a single dropped 4U server cause more damage than an entire project’s labor budget.
Grounding is the other area where I push back hardest. Most teams test it once at commissioning and never again. Grounding connections corrode, loosen, and degrade. A quarterly resistance check with a multimeter takes five minutes per rack and catches problems before they become equipment failures or safety incidents.
Finally, invest in quality cable management tools from the start. Velcro straps, horizontal and vertical cable managers, and proper patch panels cost more upfront than zip ties and improvised routing. They pay back that cost every time a technician can make a move, add, or change without cutting through a bundle of cables to find the right one.
— Ken
Build a rack that performs from day one

Cables brings more than 40 years of structured cabling expertise to server rack installations across New York City. Whether you are deploying a new rack in a commercial office or retrofitting an existing telecom room, we handle everything from pre-installation planning through final commissioning. Our team installs CAT6 and CAT6A structured cabling and fiber optic infrastructure built to ANSI/TIA-942 standards, with full documentation and testing on every project. If your team needs a cleaner, more reliable rack environment, contact Cables at 20 Vesey Street in Lower Manhattan or visit cables.nyc to schedule a site assessment.
FAQ
What does a server rack setup checklist include?
A server rack setup checklist covers pre-installation planning, physical mounting, cabling and airflow management, grounding, and final commissioning verification. Each phase has specific tasks that must be completed in sequence to produce a stable, serviceable rack environment.
How many people are needed to install a server rack?
At least two to three people are required to safely lift and maneuver heavy servers into a rack, per Cisco UCS installation guidelines. Working alone increases the risk of equipment damage and technician injury.
Why are blanking panels required in server racks?
Blanking panels fill unused U-spaces to prevent hot exhaust air from recirculating to device inlets. Missing blanking panels can reduce effective cooling capacity by 15 to 25%, raising inlet temperatures and increasing the risk of thermal failures.
What grounding standard applies to server racks?
ANSI/TIA-942 requires all rack frames to be bonded to a common facility ground with impedance below 0.1 ohms. Each rack should connect independently to the ground busbar using star topology, not daisy-chained connections.
Is powering on devices enough to commission a server rack?
No. Individual device power-on tests do not validate the rack environment as a system. Integrated commissioning requires testing power and cooling under real operating load conditions to confirm the full installation performs reliably.